ADVERTISEMENT
Introduction: A compelling hook that describes why the recipe is perfect for gatherings and easy to make.
Ing
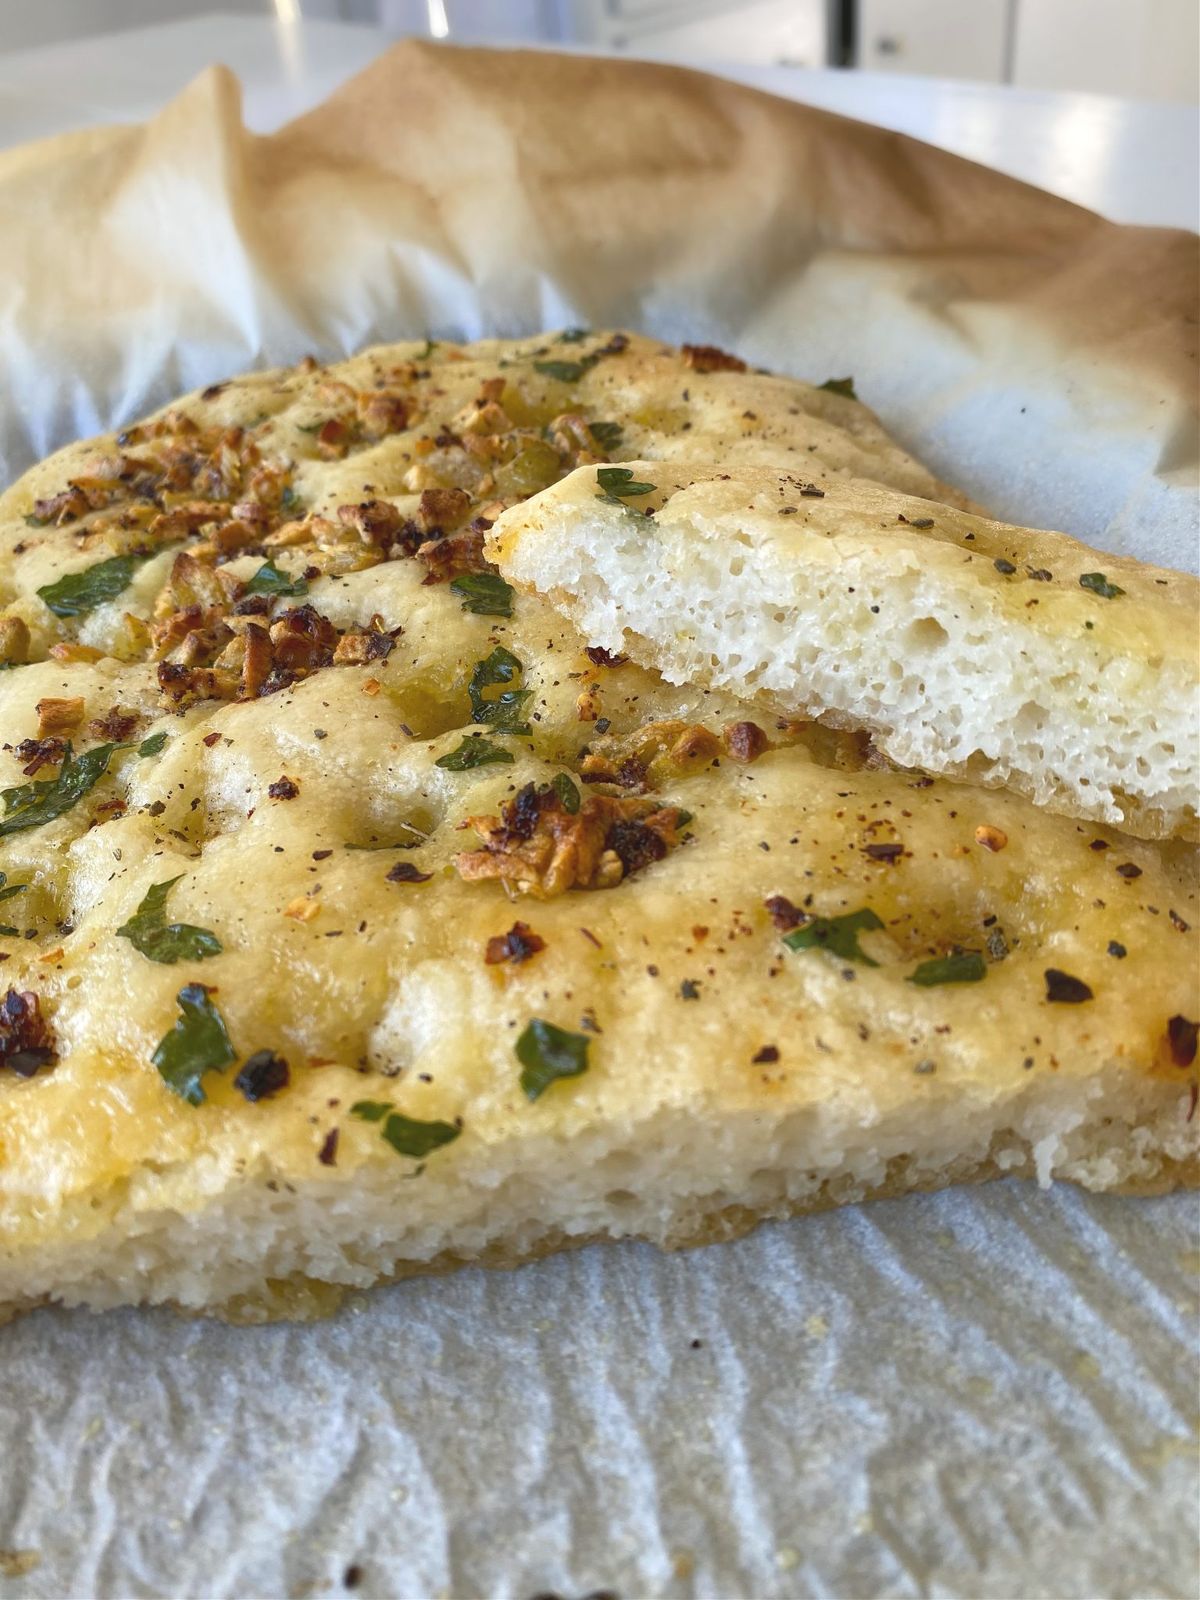
If you or someone you love is navigating a gluten-free lifestyle, you know how challenging it can be to find satisfying alternatives to your favorite comfort foods. Traditional bread and pasta often fall short in texture and taste, but thanks to innovative techniques and quality flour alternatives, creating delicious gluten-free versions is now easier than ever. This Gluten-Free Focaccia Bread recipe stands out for its simplicity and flavor, making it an ideal side dish or appetizer for gatherings without overwhelming your meal prep.
Let’s dive into this easy-to-make focaccia that will impress your guests and make your gluten-free meals feel special!
Ingredients and Equipment Needed
Before you start baking, gather the following ingredients and equipment:
Ingredients:
- 2 cups gluten-free all-purpose flour: Look for a blend that contains xanthan gum for the best texture.
- 1 tablespoon baking powder: This helps the bread rise beautifully.
- 1 teaspoon salt: Enhances flavor.
- 1 cup warm water: Activates the yeast and gives moisture.
- 1 tablespoon honey or sugar: For a touch of sweetness.
- 2 teaspoons active dry yeast: The key to a fluffy focaccia.
- 2 tablespoons olive oil: Adds flavor and moisture.
- Toppings: Fresh rosemary, sea salt, cherry tomatoes, or olives for added flair.
Equipment:
- Mixing bowls
- Measuring cups and spoons
- Baking sheet or pan
- Plastic wrap or kitchen towel
- Oven
Step-by-Step Preparation Guide
Making The Best Gluten-Free Focaccia Bread is a straightforward process that anyone can master. Follow these simple steps:
Step 1: Prepare the Yeast Mixture
In a small bowl, combine the warm water, honey (or sugar), and active dry yeast. Stir gently and let it sit for about 5-10 minutes until it becomes frothy. This indicates that the yeast is activated and ready to go.
Step 2: Mix Dry Ingredients
In a separate large mixing bowl, whisk together the gluten-free flour, baking powder, and salt. This ensures even distribution of ingredients, which is crucial for consistent texture.
Step 3: Combine Mixtures
Once the yeast mixture is frothy, add it to the dry ingredients along with the olive oil. Mix until a sticky dough forms. Don’t worry if it’s a bit wetter than traditional dough; gluten-free flour absorbs moisture differently!
Step 4: Let the Dough Rise
Cover the bowl with plastic wrap or a kitchen towel and place it in a warm area. Let the dough rise for about 30-40 minutes. It should puff up slightly, indicating that the yeast is doing its job.
Step 5: Preheat the Oven
While the dough is rising, preheat your oven to 400°F (200°C). This ensures a perfect baking environment for your focaccia.
Step 6: Shape and Top the Focaccia
Once the dough has risen, transfer it to a greased baking sheet or pan. Using your fingers, gently spread the dough out to fit the pan. Create dimples in the surface of the dough with your fingertips. Drizzle a little olive oil over the top and sprinkle with your desired toppings, such as fresh rosemary, sea salt, or cherry tomatoes.
Step 7: Bake
Bake in the preheated oven for about 30-32 minutes, or until the top is golden brown and the bread sounds hollow when tapped.
Step 8: Cool and Serve
Remove the focaccia from the oven and let it cool for a few minutes before slicing. This bread is best enjoyed warm, but it can also be stored in an airtight container at room temperature for up to 2 days.
Optional Variations and Creative Additions
Feel free to personalize your focaccia with these creative variations:
- Cheesy Focaccia: Add shredded mozzarella or Parmesan cheese before baking for a gooey treat.
- Herb Infusion: Incorporate other herbs like thyme or oregano for a different flavor profile.
- Sweet Twist: Drizzle with a bit of honey before serving for a sweet and savory combination.
Serving Tips
The Best Gluten-Free Focaccia Bread is versatile and can be served in many ways:
- As a Side Dish: Pair it with soups, salads, or main courses for a delightful complement.
- For Dipping: Serve with olive oil and balsamic vinegar for dipping.
- Make Mini Sandwiches: Slice the focaccia horizontally and fill with your favorite sandwich ingredients for a gluten-free lunch option.
FAQs for Best Preparation and Storage Practices
Q: Can I use a different gluten-free flour?
A: Yes, but make sure to use a blend that includes xanthan gum for the best texture.
Q: How do I store leftovers?
A: Store any leftover focaccia in an airtight container at room temperature for up to 2 days. It can also be frozen for longer storage.
Q: Can I make this focaccia ahead of time?
A: Absolutely! You can prepare the dough in advance and store it in the fridge for up to 24 hours. Allow it to come to room temperature before baking.
Q: What if I don’t have active dry yeast?
A: You can use instant yeast in the same quantity without needing to proof it first.
Conclusion: Enjoy Gluten-Free Goodness!
This Gluten-Free Focaccia Bread is a fantastic addition to your gluten-free repertoire. Its simple preparation, delicious flavor, and versatility make it perfect for any gathering, whether it’s a casual dinner or a festive celebration. With its warm, fluffy texture and delightful toppings, this focaccia will have everyone at the table raving—gluten-free or not! Bake a batch today, and enjoy a taste of homemade goodness that everyone will love!
