ADVERTISEMENT
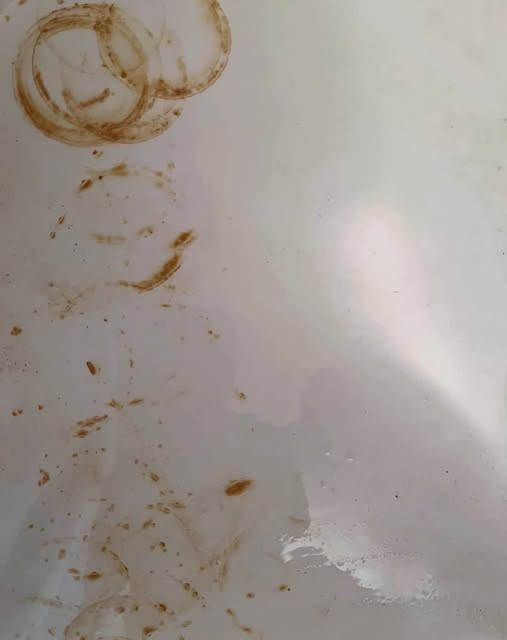
Why Do Shaving Cream Cans Leave Rust?
Most shaving cream cans are made of metal with a thin protective coating. Over time, exposure to moisture causes the metal to corrode, especially at the bottom where water pools. This rust transfers to your shower floor, leaving stubborn orange or brown stains.Step 1: Gather Your Supplies
To remove rust spots, you’ll need a few basic items. These household staples make it easy to tackle the problem without damaging your shower surface:- White vinegar
- Baking soda
- Lemon juice
- Non-abrasive scrub brush or sponge
- Old toothbrush (optional, for smaller areas)
- Hydrogen peroxide (for tough stains)
- Paper towels or soft cloths
Step 2: Clean the Surface
Before treating the rust, clean the area to remove any soap scum, dirt, or residue. This ensures the rust removal methods work effectively.- Rinse the affected area with warm water.
- Use a gentle cleaner and a sponge to remove grime.
- Dry the surface with a soft cloth.
Step 3: Apply a Rust-Removing Solution
Option 1: Vinegar and Baking Soda Paste
- Mix equal parts baking soda and white vinegar to form a thick paste.
- Apply the paste directly to the rust spots, ensuring they’re fully covered.
- Let the paste sit for 15–20 minutes to break down the rust.
- Scrub the area with a non-abrasive brush or sponge, applying gentle pressure.
- Rinse thoroughly with water and dry with a clean cloth.
Option 2: Lemon Juice and Baking Soda
- Sprinkle baking soda over the rust spots.
- Squeeze fresh lemon juice over the baking soda to create a fizzing reaction.
- Allow the mixture to sit for 10–15 minutes.
- Scrub the rust with a sponge or toothbrush.
- Rinse and dry the area.
Option 3: Hydrogen Peroxide for Tough Stains
- Pour a small amount of hydrogen peroxide onto the rust stains.
- Let it sit for 10 minutes to loosen the rust.
- Scrub gently with a sponge or brush.
- Rinse thoroughly and wipe dry.
Step 4: Prevent Future Rust Spots
Once the rust is gone, take steps to avoid a repeat scenario:- Use Plastic or Rust-Proof Containers: Store shaving cream in a plastic holder or switch to rust-resistant cans.
- Keep the Shower Dry: After each use, wipe down the shower floor to minimize standing water.
- Add a Protective Barrier: Place a rubber or silicone mat under metal items to prevent direct contact with the surface.
